Sunday, November 28, 2010

It's beginning to look a lot like....

Christmas-Fall! :) I tried to rake up the leaves before we put the lights up yesterday but it was just so cold! Even though the lights are pretty, it's hard for me to think christmas with a bunch of yellow leaves in the way! But all of the fall decor is at least put away inside!

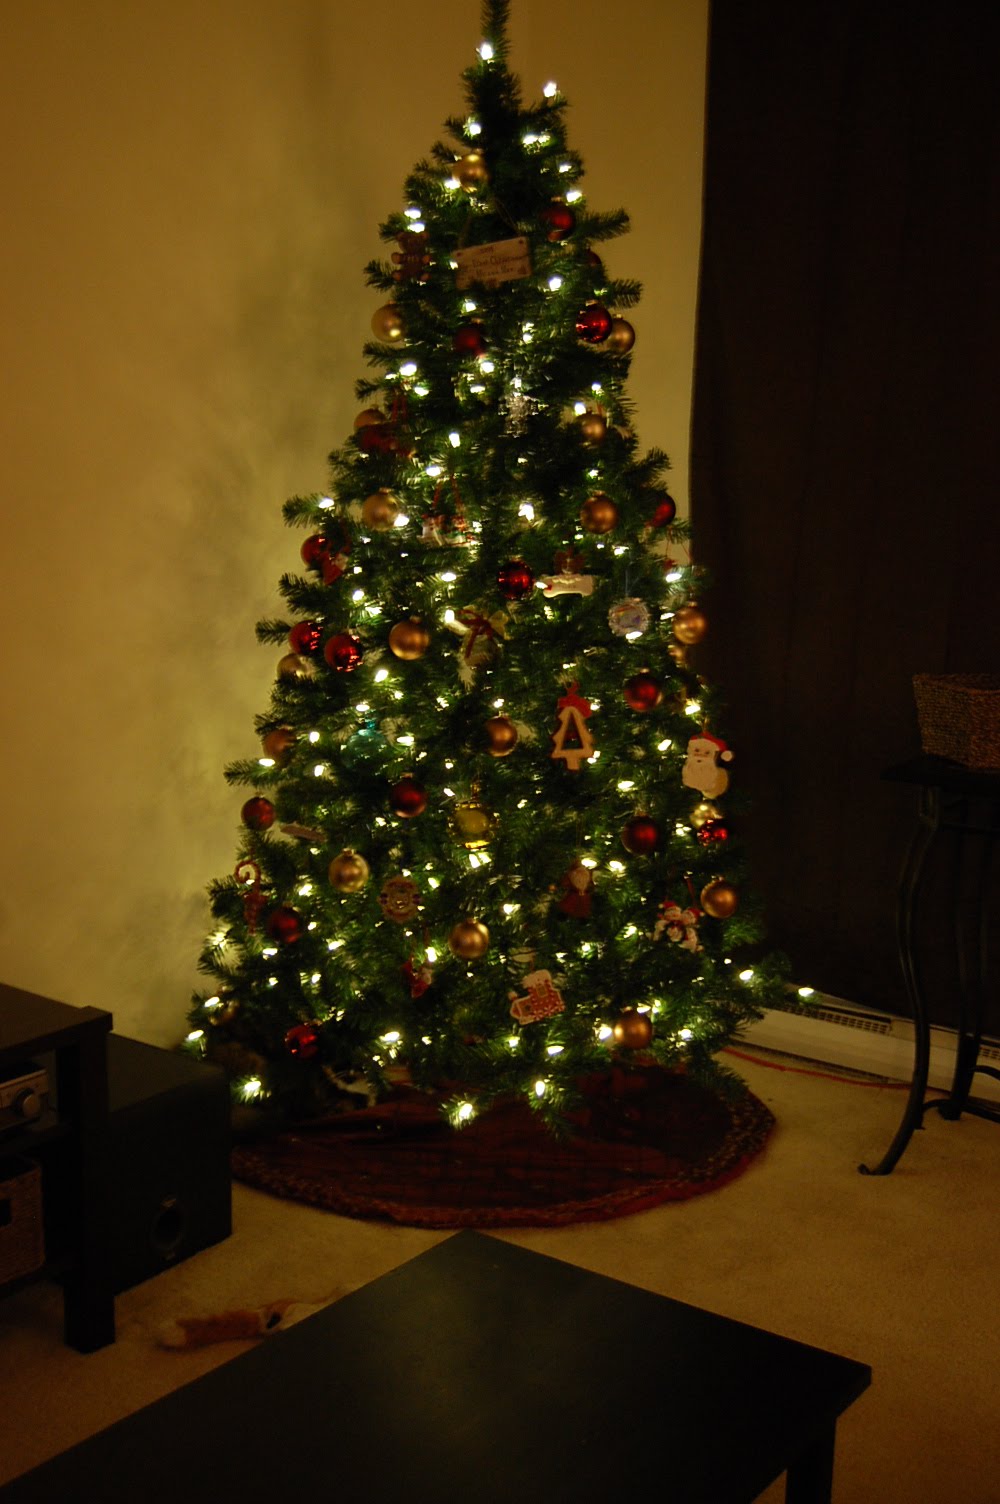
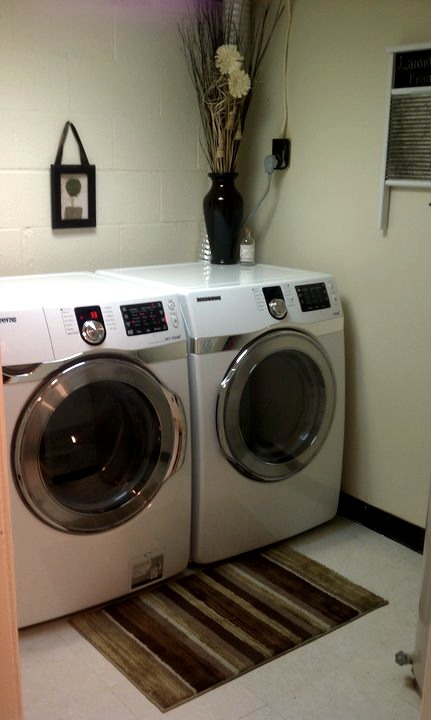
Here are some pictures of the inside/outside of our house all decorated for Christmas. We've been in our new house for 3 months exactly now. And every time we get to do fun and exciting things, I get so excited that we own our OWN home and how great that is....and I find myself secretly crossing my fingers that I'm not jinxing myself and find out the next day that something else (expensive) breaks! :) (i.e. fear of tree falling on the house so needing to pay to get it trimmed, taking a shower and water randomly going cold, homeowners insurance almost being cancelled because of a dip in the roof that didn't exist?, electricity going out if we run too many things in the basement, dryer going up....those are just the things I can think of that we've dealt with so far! and there are definitely more.... ahh)...But no matter what the challenges, it doesn't beat owning your own home, doing whatever you want to it, and making the things like decorating for Christmas that much more exciting. So grateful this year :)
I made my wreath, hot glued a few extra pieces of berries, greenery, but it's mostly fabric flowers, you can see my fall wreath here

Here is my new favorite ornament, so pretty! :)

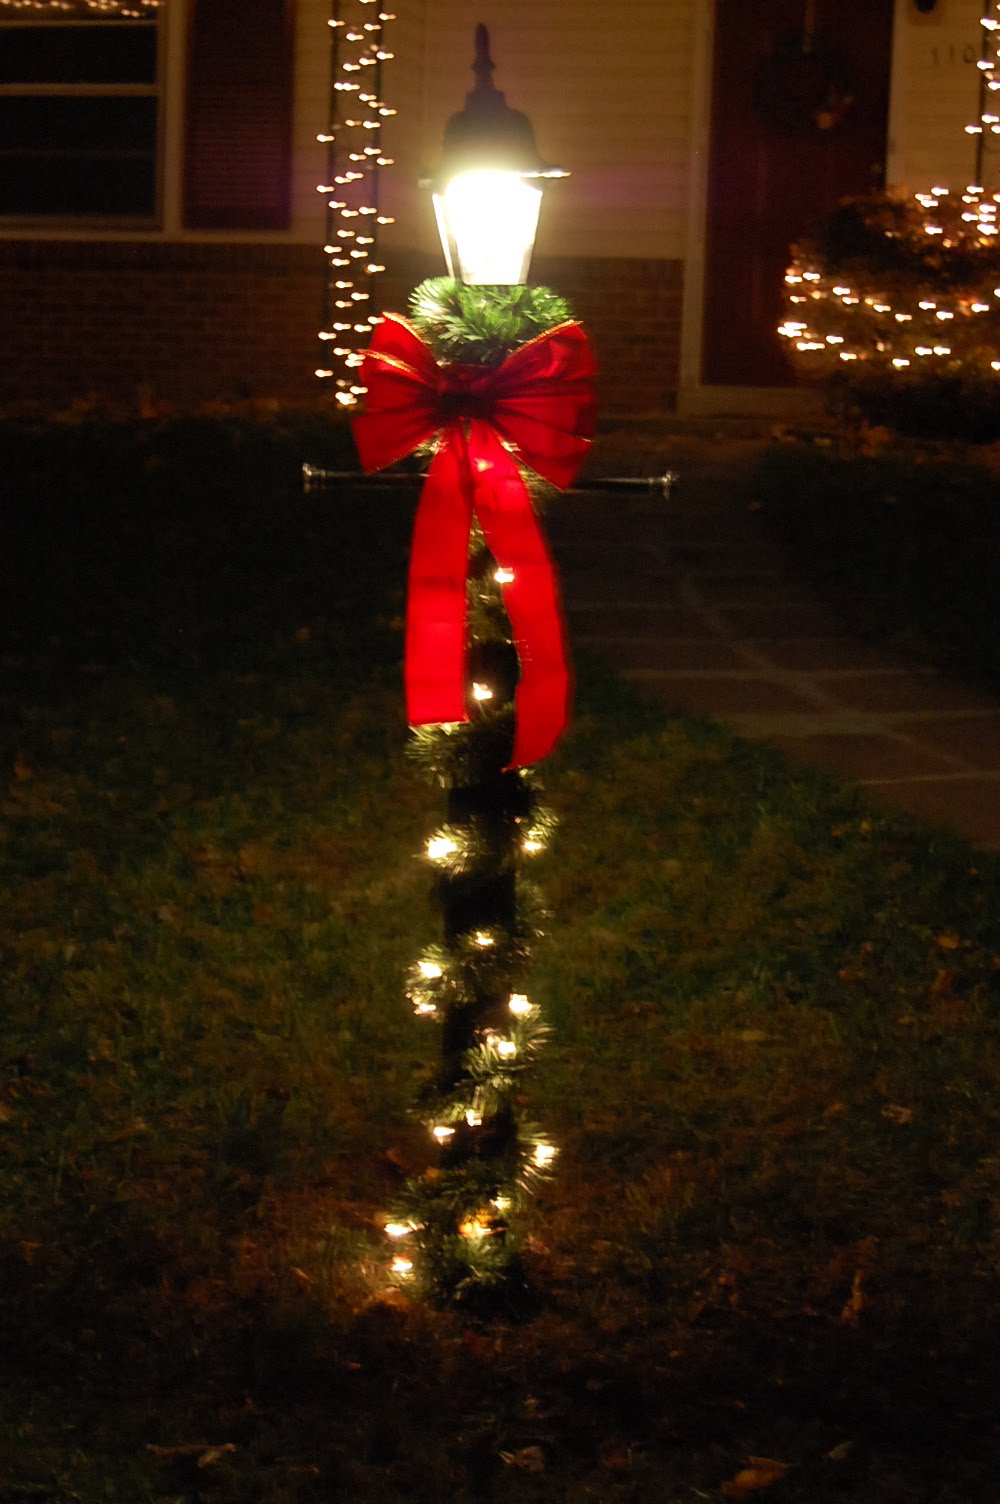
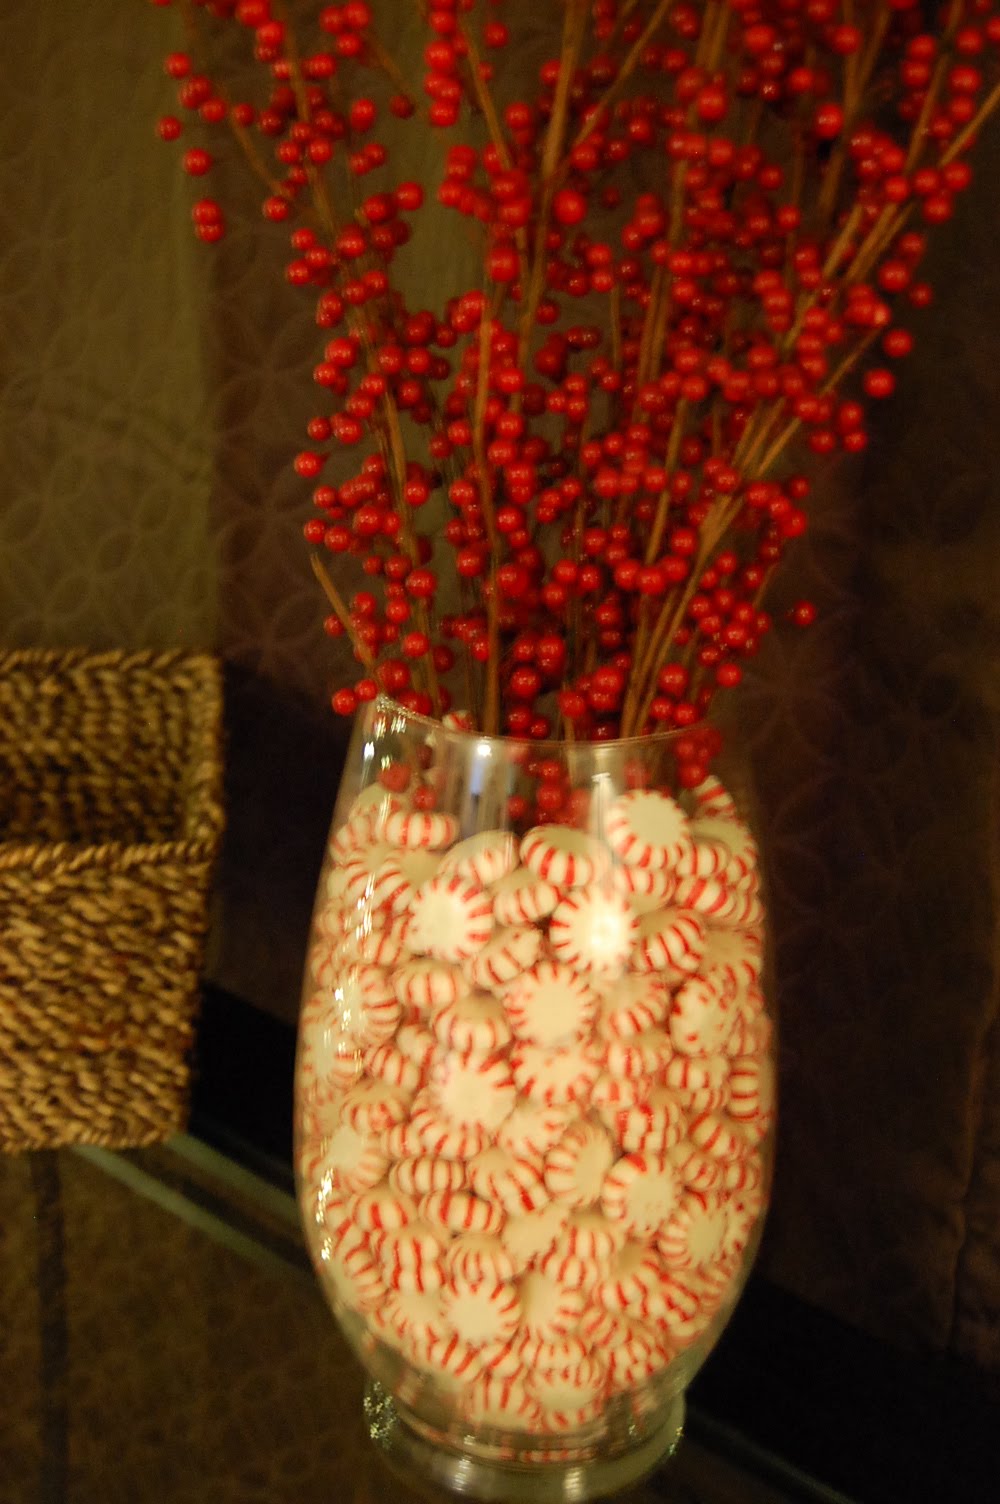
I love this very simple, amazingly cute project. Get a bud vase, stick the berry sticks in it (I think I used 7, bought from Michaels) and place in the middle of the bigger vase. Then comes the hard part. Get a large bag (maybe 2) of peppermints, and unwrap every single one and put in the vase so it covers up the bud vase. And that's it...so cute. I use this every year, and yes the peppermints are a nightmare so I do have to replace them. Here is a better picture of it here:
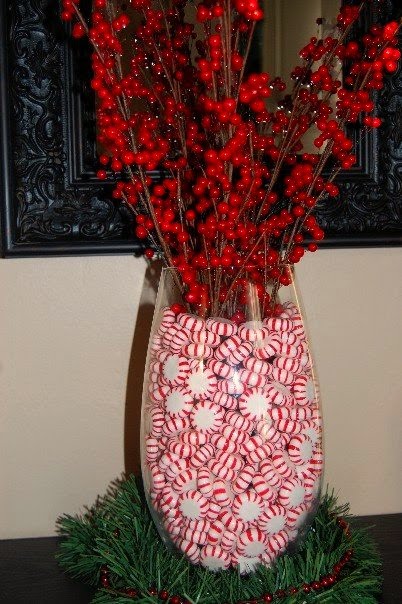


Photobucket

Sunday, November 21, 2010

Christmas Subway Art


I know, a maaybe little too soon but in all fairness I'm just being proactive...we are putting up our tree next weekend and I need to be prepared with cute decorations! :) Maybe I should have made something Thanksgiving-ish but it just would have gone in a box next weekend.

I was bored this afternoon and felt like doing this particular craft. I had wanted to do it on a piece of wood but I couldn't find any around the small that weren't too big or too small and then I decided even if I did find one, I didn't really feel like painting...I'm kind of impatient....

I came across this frame I had...yea I bought this a long time ago from Ikea....yes, for myself...why you ask? I kind of love sheep


I made a fabric flower with this burlap type stuff I have used for a couple things now.

Then I used my SCAL to do a few different fonts and cut them out on my cricut on red and white scrapbook paper. P.s. I apparently need more red things, as I was doing this project I found next to nothing that I owned that was red and this maroon colored scrapbook paper I used for this project was my last sheet!

Since the words were really small and of course weren't vinyl, I was sitting there the entire time wondering how I was going to get it to stick to the green scrapbook paper....Once it was all cut out I laid it out how I wanted it and then I ended up taking a paint brush and mod podged all of the letters on. Tedious, a little bit, but I'm not sure how else I would have done it with everything that I had...it worked fine because my scrapbook paper I was using was a thicker cardstock.


Once it dried (and very quickly I might add), I just put it back in the frame and hot glued the fabric flower to the glass (ahem, I mean plastic) on the frame. I happened to find a little leaf that worked perfect for this too. Still not sure about the little white brad in the center, it looks like a mint. I think when I pull out my Christmas stuff next weekend I might see if I have a couple berries or something to stick on.


Can't believe this has to sit around for a week....though I'll definitely resist the urge to put it up....it's time to celebrate thanksgiving this week! :)


I'm linking up to Craft-O-Maniac and Texas Monkey

Sunday, November 14, 2010

Chocolate Chip Pumpkin Bread


Yum! It did turn out good so I thought I'd post the recipe!

I was given a recipe book from my old co workers from Humanim when they threw me a bridal shower last year. They each put recipes in it and this one was from Rayna...


  • 4 eggs
  • 2 1/2 cups sugar
  • 1 cup oil
  • 2 cups canned pumpkin
  • 3 1/2 cups flour
  • 2 teaspoons baking soda
  • 1 1/2 teaspoons salt
  • 1 teaspoon cinnamon
  • Chocolate chips (I used about a half a bag)

Beat eggs & sugar together. Add oil, water and pumpkin.
Mix flour, baking soda, salt and cinnamon together. Add to pumpkin mixture.
Stir in as many chocolate chips as you'd like. (Again I used about a half a bag)
Pour into 2 or 3 (this made two for me) greased loaf pans.
Bake at 300 for 90 minutes.


I feel like the heat could have been increased and it could have been cooked faster but I just didn't know so yes, it cooks for an hour and a half (even longer in my thick loaf pan, but everything takes forever in that pan). But it was really yummy, even my hubby liked it!

I'm linking up to Domestically Speaking


Saturday, November 13, 2010

In laundry heaven!


I love my new washing machine & dryer! They came early this morning and we've done....I think 5 loads of laundry....there are tons of buttons on these things but I think we've got the hang of it now! And they even play a song when the load is done!! hahaha which was hilarious when we first heard it but much better than the 'EHHHHHHHHHH' that we are used to. The first load, we literally sat in front of the machine for 15 minutes to watch and see what it would do. It felt silly, but it was sure fun!

I looove them, now I need to continue working on this little dungeon of a laundry room! :)

Ooo I'm also making chocolate chip pumpkin bread right now, if it turns out as yummy as it smells & looks, I'll post the recipe!

Friday, November 12, 2010

First Apartment Gift Basket


My brother just moved into his first apartment....well with his girlfriend. He first moved out on his own in April but with just a friend of his and I never even saw his apartment. So I decided since he was moving in with his girlfriend that I would do something a little fun. They have a ton of stuff to buy, they are basically starting from scratch. So I thought I'd take care of all the "boring" stuff that they would have to get, that way they could spend their money on other, more fun things!


See my "First Apartment Gift Basket"! Sorry for the lame picture, I took it with my phone in a hurry, I also forgot to include a picture with the delivery menu's for all of the places I could find right near him that deliver!


Here is what I included in the basket:
  • 2 white bath towels
  • An oven mitt set
  • 20 hangers
  • Pack of AA batteries
  • Pack of AAA batteries
  • 4 pack of energy saving 40watt bulbs
  • 4 pack of energy saving 60watt bulbs
  • 3 pack sponges
  • Windex
  • Pine Sol
  • 4 pack Mr. Clean Magic Erasers
  • Arm & Hammer Shower Cleaner
  • J.R. Watkins All purpose cleaner in lemon (organic, my new fave since we moved!)
  • Cascade dishwasher detergent
  • Milk & Honey Hand soap
  • 3 pack scotch tape
  • Vanilla febreeze
  • Spot Shot
  • Clorox wipes
  • 2 pack paper towels
  • 4 pack toilet paper
  • First aid kit
  • Jade plant with a planter (it's apparently a money plant, figured they could use it)
  • Delivery menu's for pizza places in their area
  • And of course....a laundry basket


Yeah, I'm a pretty awesome sister.
:)

Easy Chili


Yum! I've been wanting to make chili....honestly I've only made chili once before and I have no idea how I made it so I had to look up some recipes yesterday. Actually lets be honest, I youtubed them on my phone and listened to them on my way home from my dads yesterday! :)

Here's the recipe I came up with, and it was really yummy, I made cornbread and we had leftovers tonight.

2lbs of lean ground beef
1 1/2 packages of McCormick Original Chili seasoning
1 Medium onion
2 cans (14.5 oz each) diced tomatoes, undrained
1 can (14.5oz) (light red) kidney beans, undrained
1 10oz can Rotelle diced tomatoes and green chilies, undrained
And a little bit of black pepper

I browned the ground beef, and threw in the diced onion once the beef was browned. I left that soften just a little, then I added the 2 cans of diced tomatoes, 1 can of kidney beans, 1 can of tomato/green chile mixture, the package and a half of the seasoning and a little bit of pepper.

I let it boil and then simmer for 15 minutes while the cornbread cooked. It's turned out great! Sure, I'd like to do something with my own seasonings but I just don't like a ton of ingredients.

Thursday, November 11, 2010

Mmmm muffins


No recipe, just a suggestion. This is the yummiest mix! You should definitely make it if you haven't already. I could eat a thousand of these little things! Why bother with a recipe when Betty has done something so right?


And the most exciting part is I still have this mix in the cabinet.....


Flea Market Find: Wash Board

I went to a flea market with my friend Christina last weekend and the one thing I found was this (ugly) wash board for $5....
I knew just a little paint and it would be pretty again! :) I decided to leave the silver front all rustic- like and not paint it but the rest definitely needed to be painted. And I've been dying to do something with chalkboard paint so I figured this was perfect! Though it would be nice if it was just a teeny bit bigger.
I love it! I sprayed it with the chalkboard paint first and when that dried I taped off the part I had just sprayed and sprayed the rest with krylon satin white which I found to be too watery, so luckily I had enough of my Rustoleum satin white to do the second coat!


This will go great in my laundry room, but I won't hang it yet because we just bought these pretties today....


And they arrive on saturday. Our dryer broke the other day and we couldn't resist buying a nicer matching set. This way when we do eventually move from the house I won't be sad that I have a brand new washer/dryer, they'll be a little worn by then! :) Besides, these were almost 50% off for veterans day!! Can't beat that, it was so nice to see 'You saved $1000' on my receipt!


Oh and I stopped by Hobby Lobby to get some chalk and picked up this little thing....I figured this can also go in the laundry room. I know I could have made this. In fact, I almost made one the other day but we don't really have the printer hooked up yet and I couldn't find the right jar to recycle! And this was only like $2, not bad!


I'm Linking up at Just a Girl

Join  us Saturdays at tatertotsandjello.com for the weekend     wrap    up           party!
Texas Monkey

Thursday, November 4, 2010

Topiary Moss Frame


Loved this idea from Crafts & Sutch so I went and got things from Michaels to try and do something similar. I already had a frame and scrapbook paper so I just needed the moss and the ribbon. I actually had bought this burlap roll while I was there and ended up using it so it worked out.

I couldn't decide what shape I wanted to cut the moss into....First I started playing...this idea had good intentions but it ended up looking like a pitchfork

Then my hubby suggested a 4 leaf clover, that didn't work out.....

Then I thought of a simple shape, and what I could do with it...

  • I cut the circle of moss.
  • Then I cut a strip of burlap, wrapped it on each side and hot glued it onto the scrapbook paper. Then hot glued the moss.
  • Then I used a couple of strips of tan ribbon as the "trunk" of the topiary and hot glued them at the top and the bottom.
  • I hot glued a little brown ribbon.
  • And lastly I hot glued the big brown ribbon to hang it from.

It's cute, I like the way it turned out :) Though the bottom is not perfectly straight and it's bugging me just a teeeeny bit.

And it did make quite a mess.....


Join  us Saturdays at tatertotsandjello.com for the weekend   wrap    up           party!

Tonka Silhouette!

Like EVERYTHING I see on YHL, I saw something I loved! Then I decided to give it a go...

I made my Tonka into a Tonka Silhouette...not sure where I'll print and put it yet but it's too cute and it needs a really cute frame :) Or I might find one that doesn't cut his ear off...


Here are the directions...I can't remember if I saw these directions on YHL or somewhere else because they use photoshop and this does not....